Firmware Installation
Upload Firmware
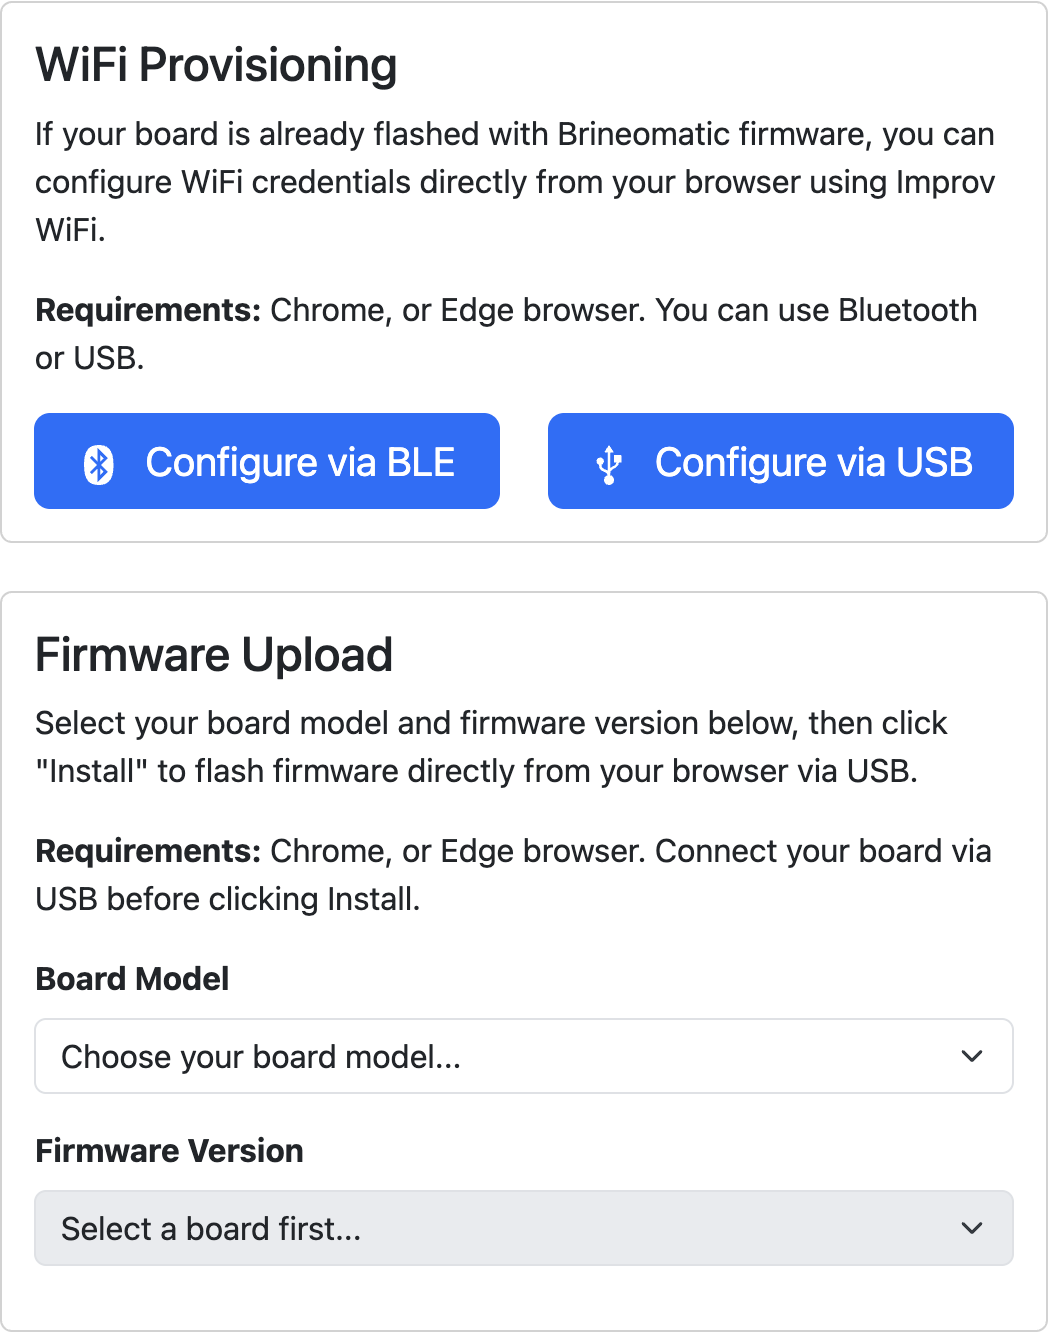
If your board does not come pre-programmed, you will need to upload the firmware.
- Open the Firmware Helper page
- Select your board revision
- Select your firmware version
- Click Install Firmware
- Select your serial port, click upload
- Board will reboot, beep, and status will show as BLUE on success
WiFi Provisioning
- Power your board through USB or external power.
- The status led should show as BLUE (ready to pair)
- Open the Firmware Helper page
- Select either Configure via BLE (Bluetooth) or Configure via Serial (USB cable)
- Enter your WiFi credentials
- Status led will turn GREEN on success.
- Open your browser to http://brineomatic.local
If your WiFi changes or the board cannot connect to WiFi, the status led will turn RED You can hold the BOOT button for 10 seconds to switch back into provisioning mode.
Firmware Update Methods
- Update the firmware using OTA from the web interface
- Use the Firmware Helper linked above to choose a specific version
- Compile from source using instructions below
Development / Building From Source
- Clone the firmware repository
- Run
npm installin the repository root to install the build tooling (npm is used only for dev tooling — this is not a Node.js application) - Plug your computer into the board
- Open the repository in VSCode
- Install the Platformio plugin if needed
- At the bottom, select your board from the build environments
- Build and/or upload firmware with the arrow in the upper right.
ArduinoOTA
This allows you to upload new firmware over wifi from VSCode.
- Enable Arduino OTA in Settings -> Miscellaneous on the board
- Edit platformio.ini and add this to the bottom of your desired board [env:] section
; OTA Upload Config - replace "admin" with your board's admin password
upload_protocol = espota
upload_port = brineomatic.local
upload_flags =
 	--auth=admin
 	--port=3232